Build Your Own Blog with GitHub Pages and Chirpy: A Step-by-Step Guide

Build Your Own Blog with GitHub Pages and Chirpy
Creating your own blog can feel like a daunting task, especially if you’re new to web development or hosting. But what if I told you that you can set up a beautiful, fast, and entirely free blog using GitHub Pages and the Chirpy theme? Whether you’re a developer looking to share your knowledge or someone who wants a professional online presence, this guide will help you build a personal blog step-by-step with minimal effort and zero cost.
In this post, I’ll walk you through the process of creating a fully functional blog using GitHub Pages, a free hosting platform, and Chirpy, a lightweight and customizable theme. By the end of this tutorial, you’ll have your own blog up and running, ready to share your ideas with the world!
Prerequisites
Please make sure you have a GitHub account ready.
If you don’t have one, create it here.
I’ll be using Visual Studio Code (VSC) for this tutorial, so make sure to install it as well.
Download it here if you haven’t already.
Step 1: Install Ruby
To create your blog, we’ll be using Jekyll (a static site generator) and the Chirpy theme, which requires Ruby to function.
Refer to the official Jekyll installation guide and follow the steps to install Ruby on your system.
Step 2: Fork the Chirpy Theme
Go to the Chirpy repository.
Click the Fork button.
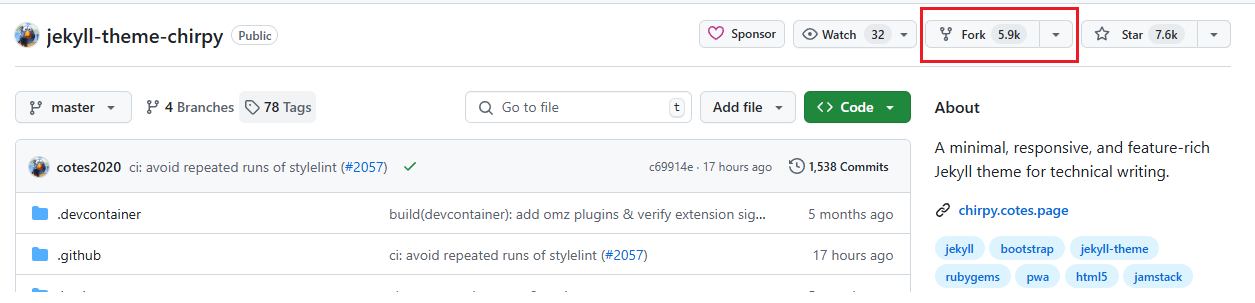
In the Repository name field, type
username.github.io.

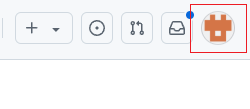
3.1 How to Check Your Username
Click on your profile icon in the top left of the GitHub page:
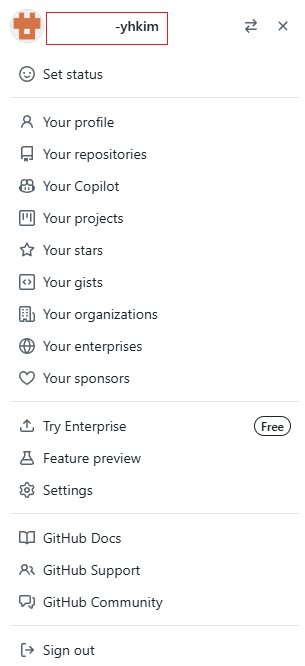
Then, confirm your username as displayed at the top:
- Click the Create Fork button.
Step 3: Clone the Repository
Copy the repository URL from the page as shown in the image below:
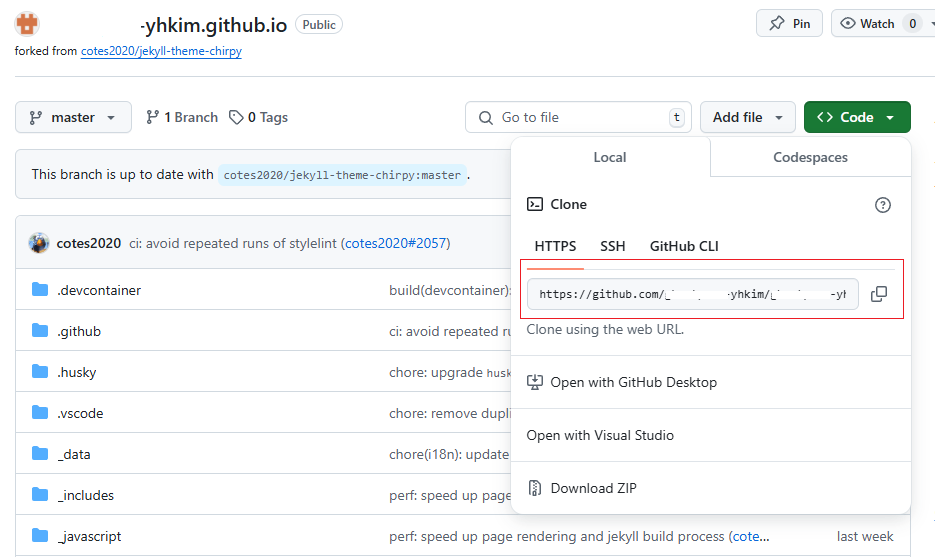
Open Git Bash and run the following command (replace the URL with your repository address):
1
git clone git@github.com:yhkim/yhkim.github.io.git
- The above is an example; replace it with the URL copied from your repository.
- I used SSH, but you can choose HTTPS, SSH, or GitHub CLI—whichever you prefer.
- If you’re new to Git, refer to the Git documentation for a basic guide.
Step 4: Initialize Chirpy
- Open a terminal in the project’s root directory.
- Run the following command to initialize Chirpy:
1
2
$ tools/init.sh
[INFO] Initialization successful!  <-- If you see this message, it means the initialization was successful.
Since this is a forked repository, delete the example files provided with Chirpy to start fresh.
Step 5: Enable Live Preview
To preview your posts in real time, add jekyll-livereload to your project.
- Open the
Gemfilein your project directory. - Add the following line:
1
gem "jekyll-livereload"
Step 6: Install Dependencies
Run the following command in the terminal to install all the necessary dependencies for Jekyll:
1
$ bundle
Step 7: Run Jekyll Locally
To start your local server and preview your blog in real time, use the following command:
1
bundle exec jekyll serve --livereload
If the command runs successfully, you should see the following output:
1
2
3
4
LiveReload address: http://127.0.0.1:35729
    Server address: http://127.0.0.1:4000/
  Server running... press ctrl-c to stop.
        LiveReload: Browser connected
Now, open http://127.0.0.1:4000/ in your browser to view your blog.
Step 8: Push the Changes to GitHub
Finally, let’s push the changes to GitHub. Once the changes are uploaded, you can check if your blog is live and working properly at the username.github.io URL you set up in Step 2.
Run the following commands in your terminal:
1
2
3
git add .
git commit -m 'first commit'
git push
Execute these commands in order to upload your files to GitHub. Once the process is complete, your blog will be live!
Here’s how it should look:
Conclusion
Creating your own blog using GitHub Pages and Chirpy is not only straightforward but also an excellent way to establish your online presence without spending a dime. Whether you’re documenting your journey, sharing knowledge, or showcasing your portfolio, this setup gives you the tools to make it happen.
I hope this guide has been helpful in getting you started. If you have any questions or run into issues, feel free to leave a comment or reach out. Your blog is just the beginning—keep building, sharing, and growing!
Thank you for reading, and happy blogging! 🚀